Science and Teaching for Field Instructors

backpack line 5

What’s in our Backpack?

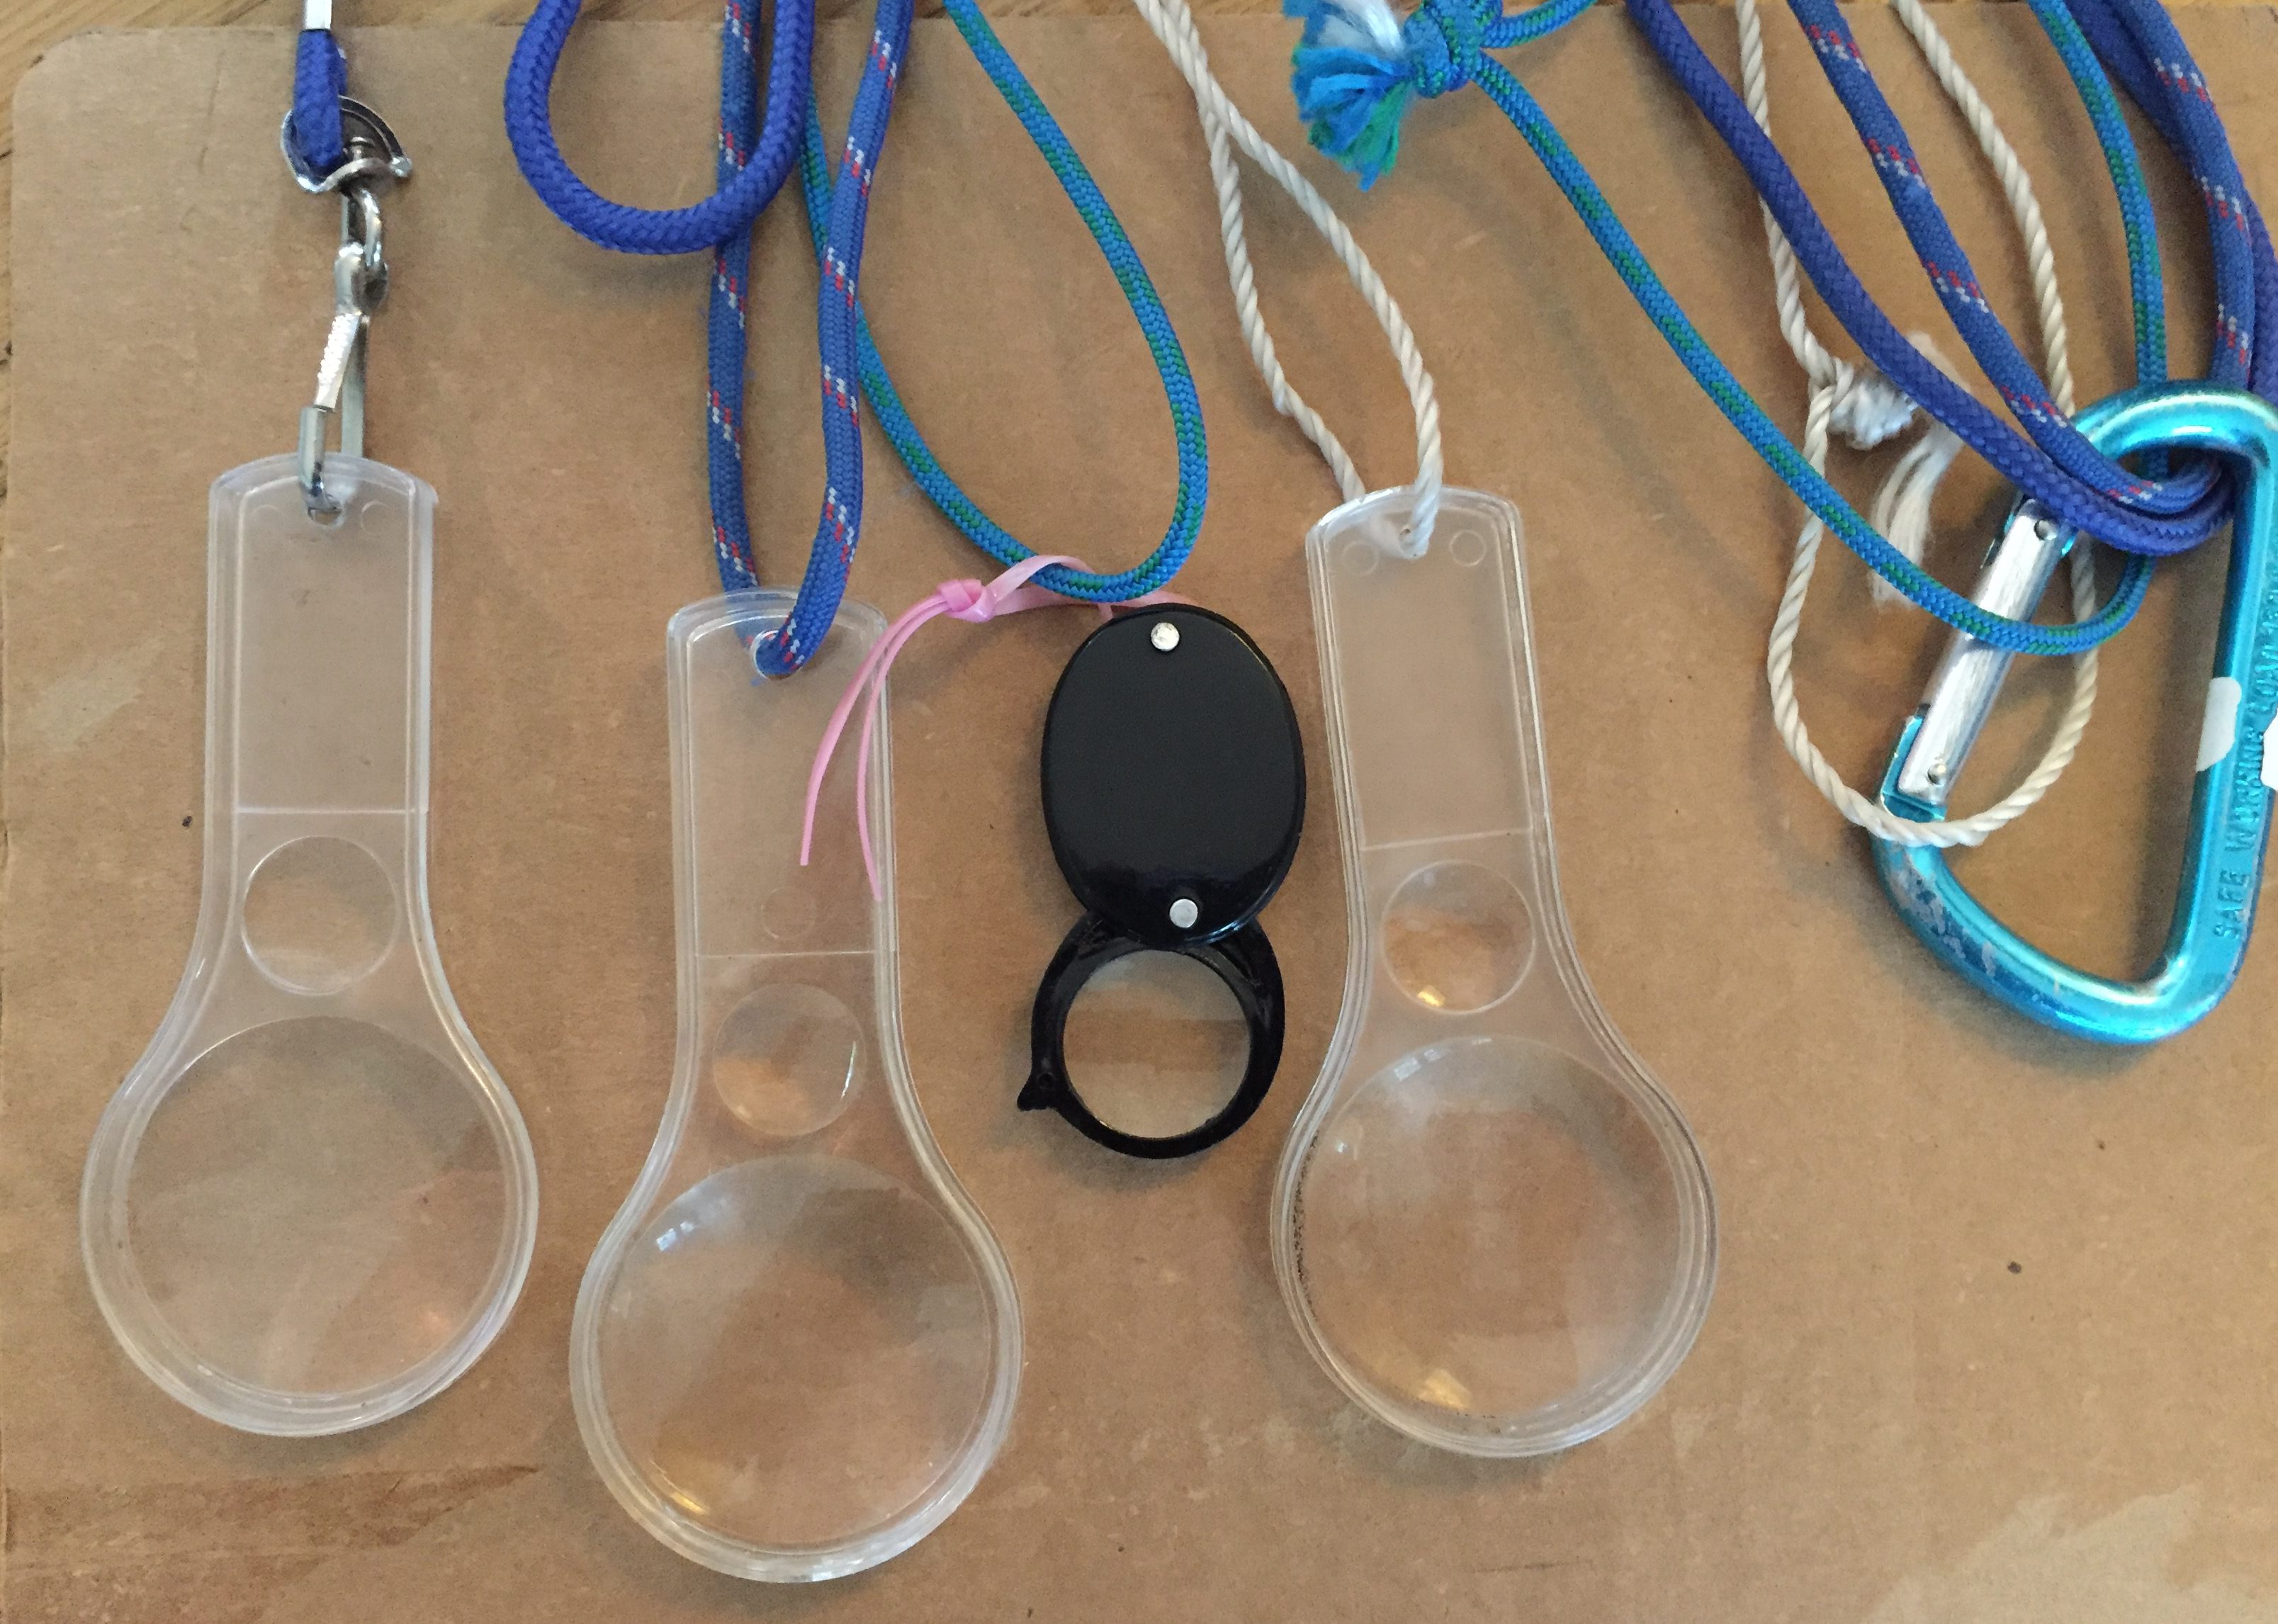
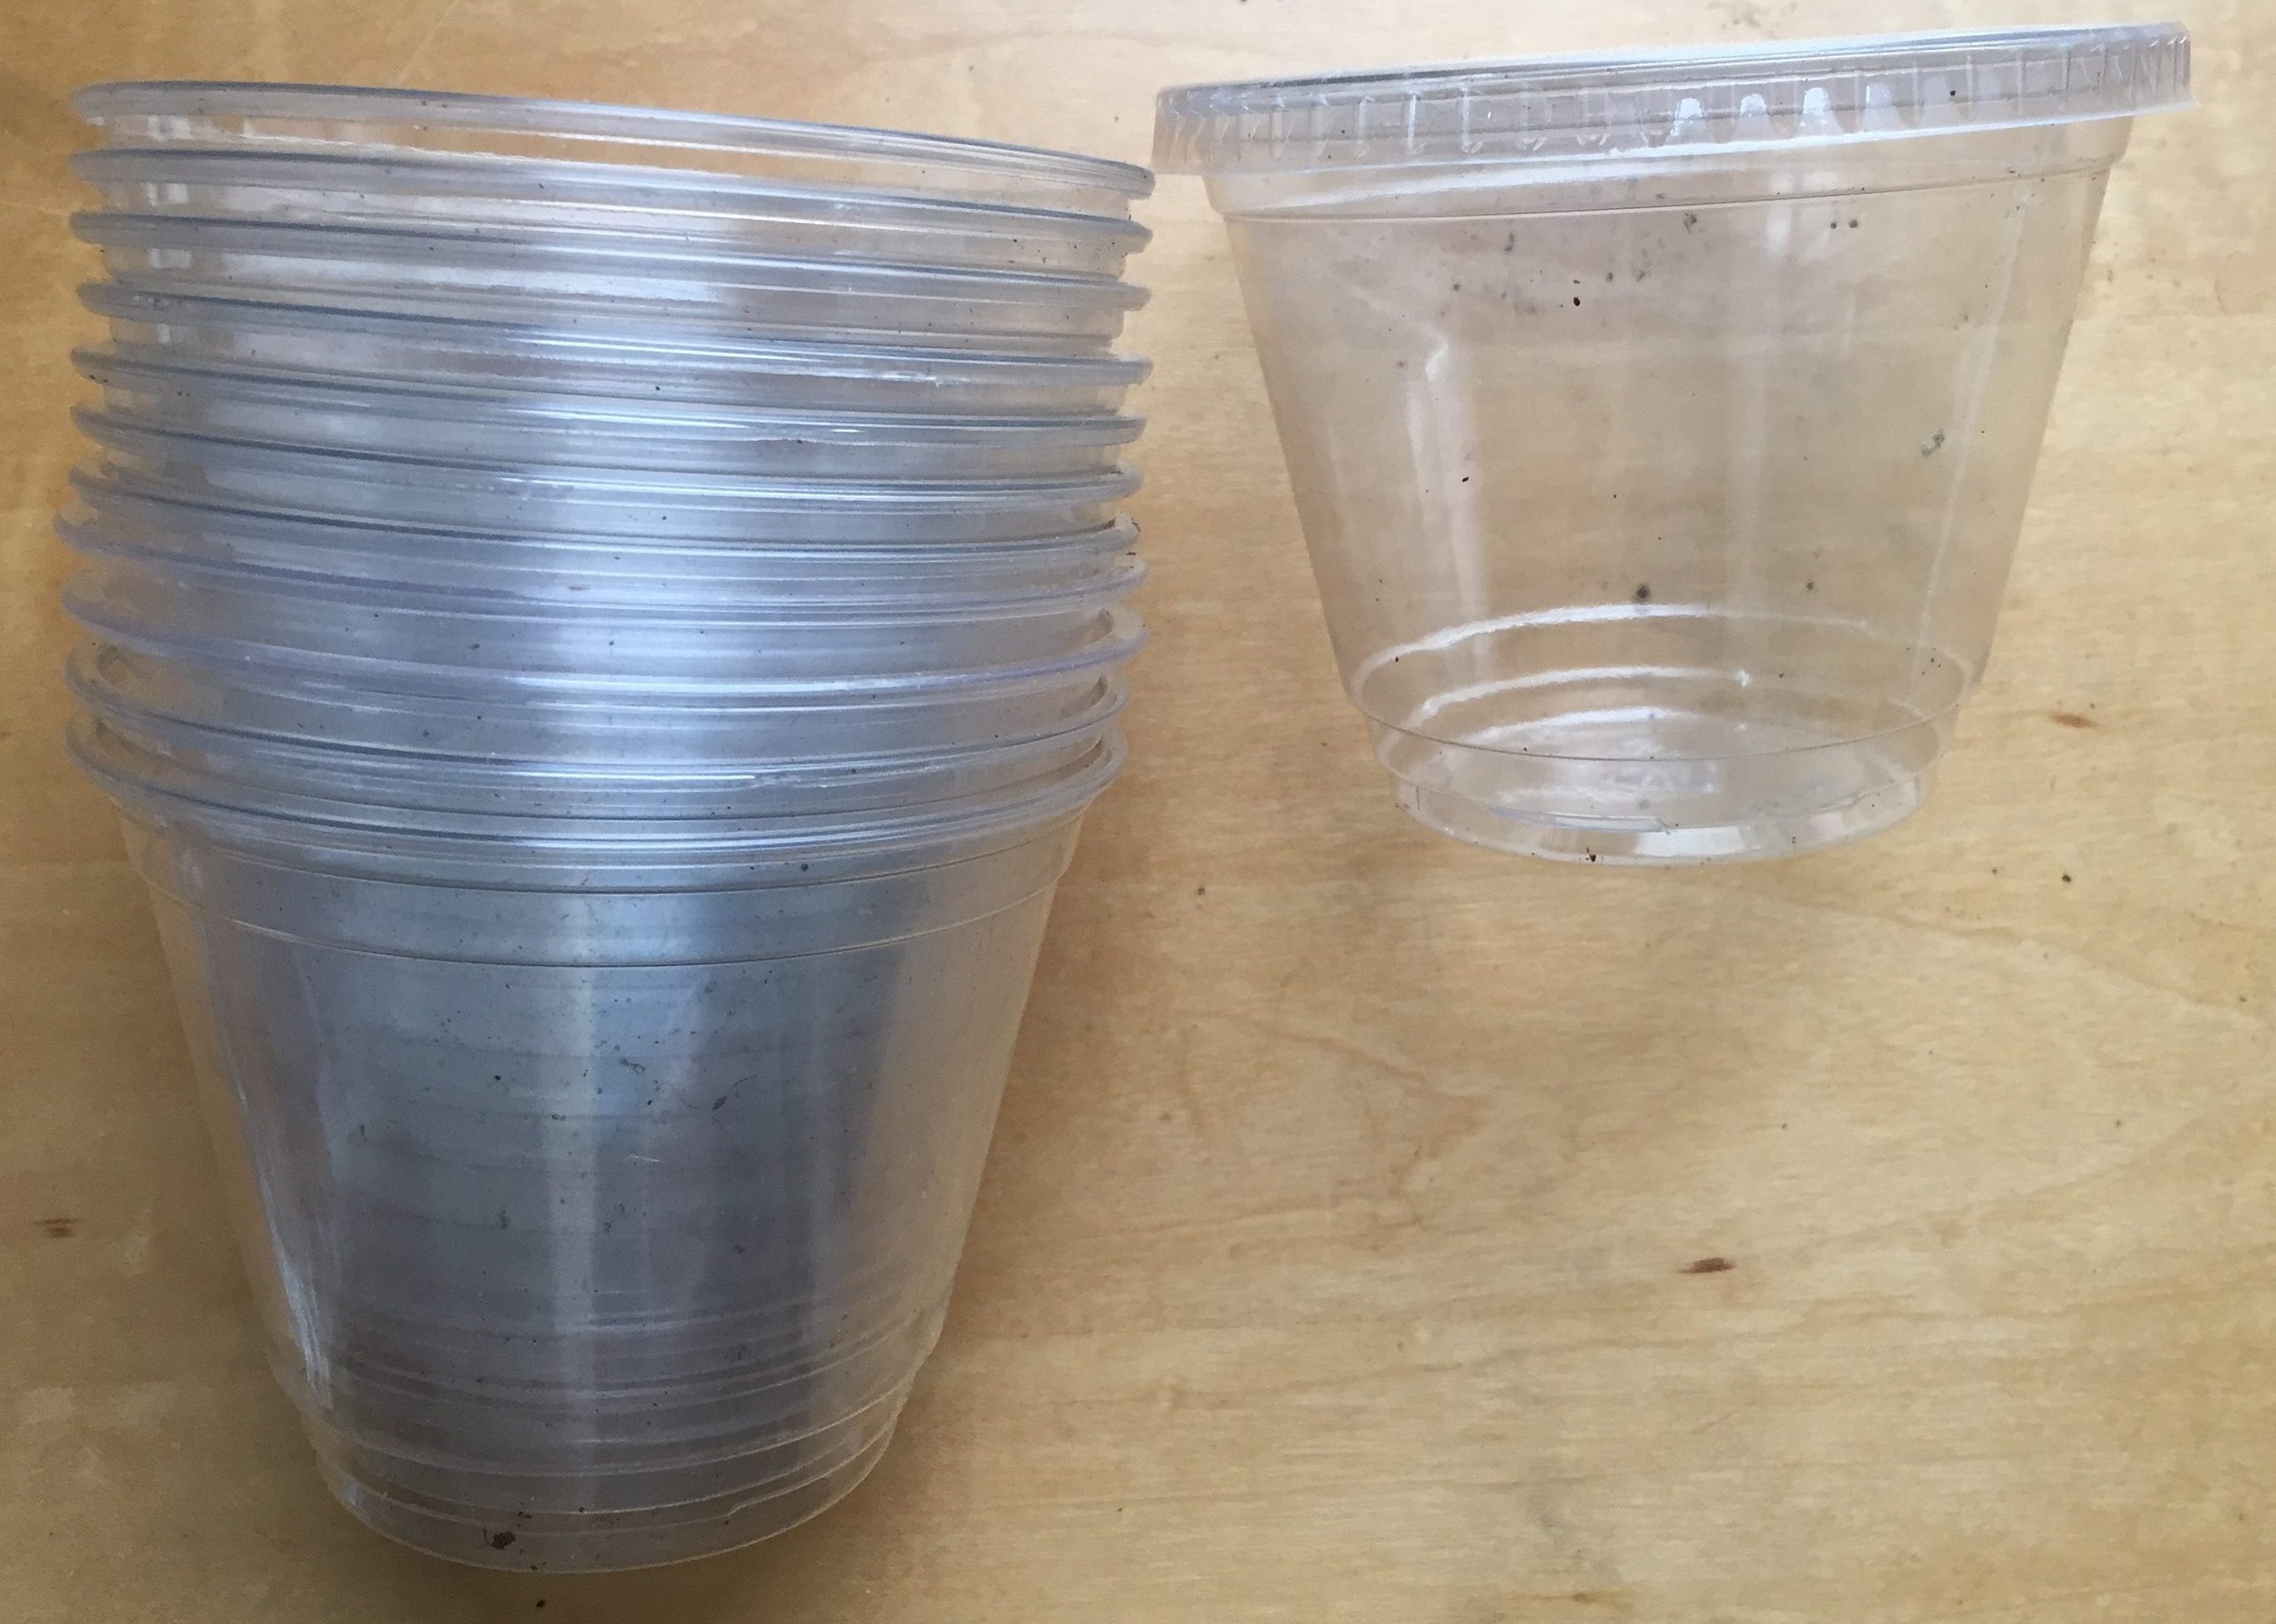
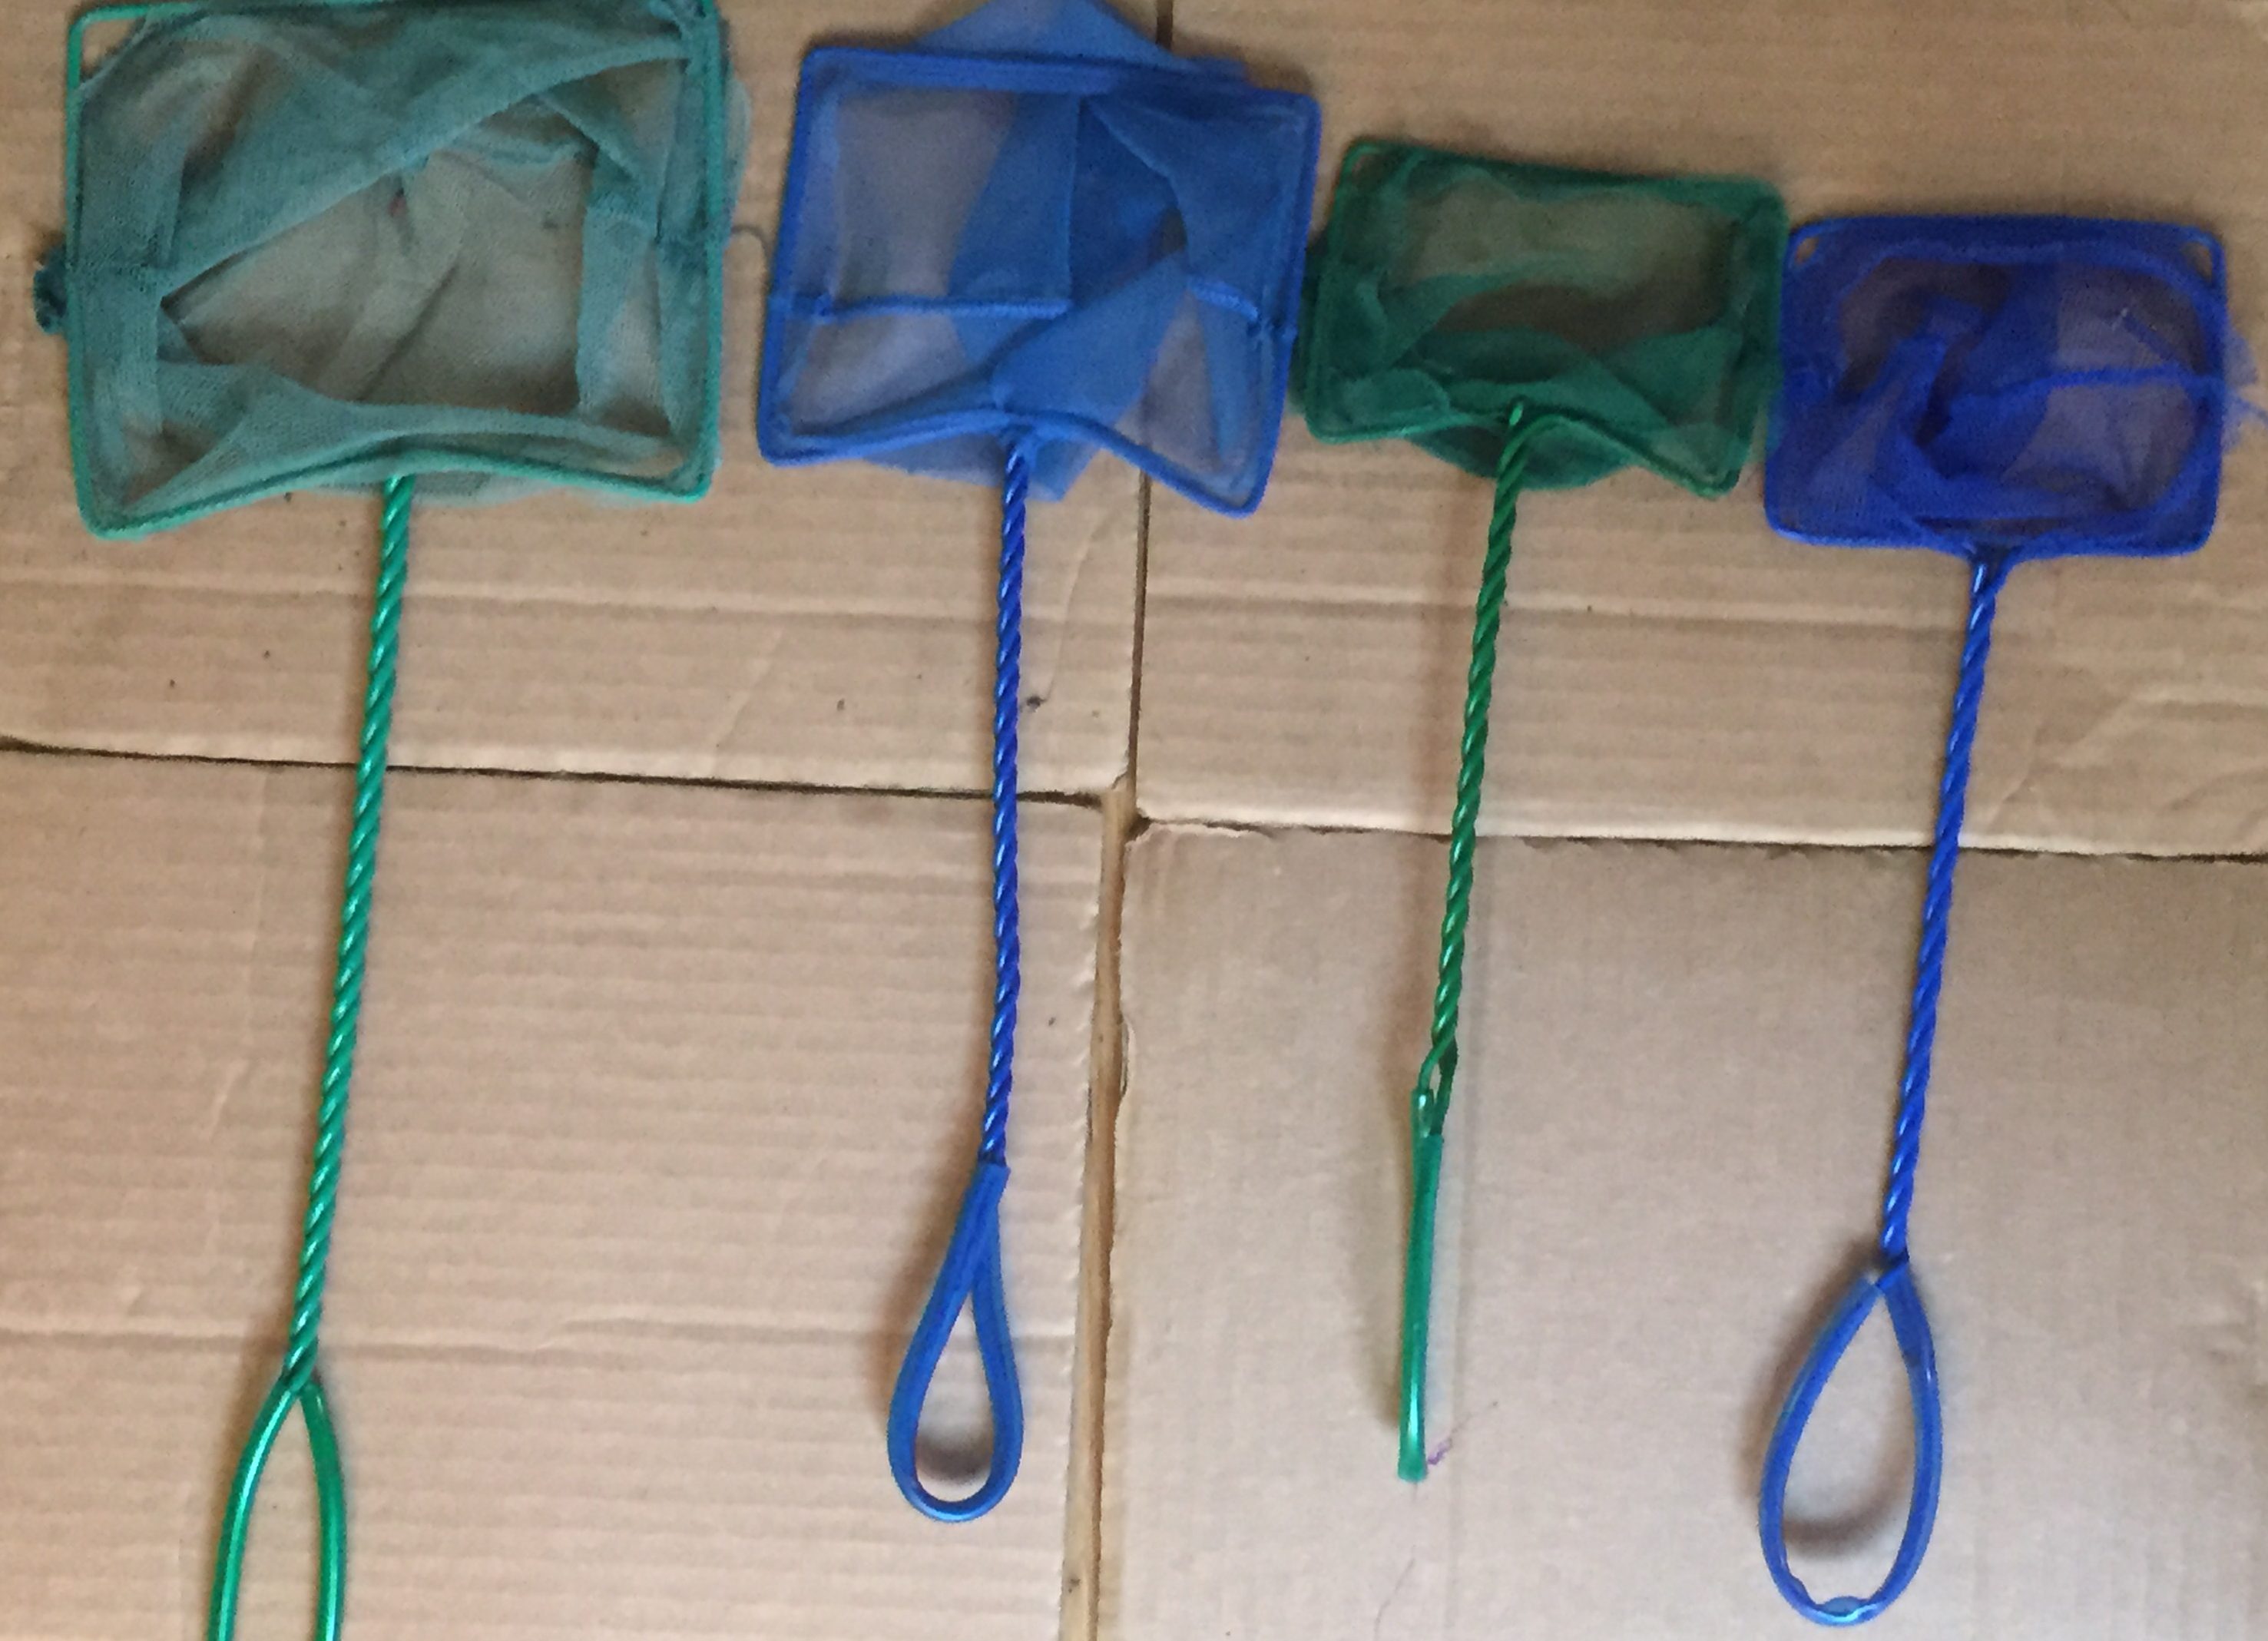
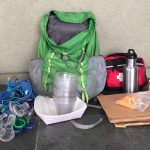
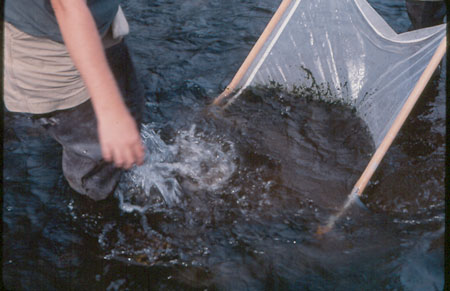
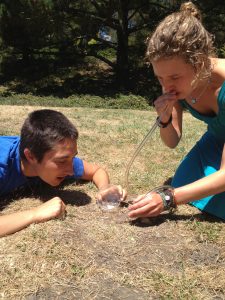
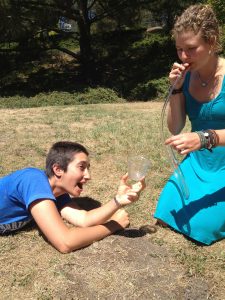
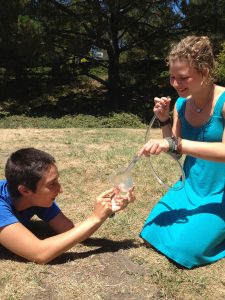
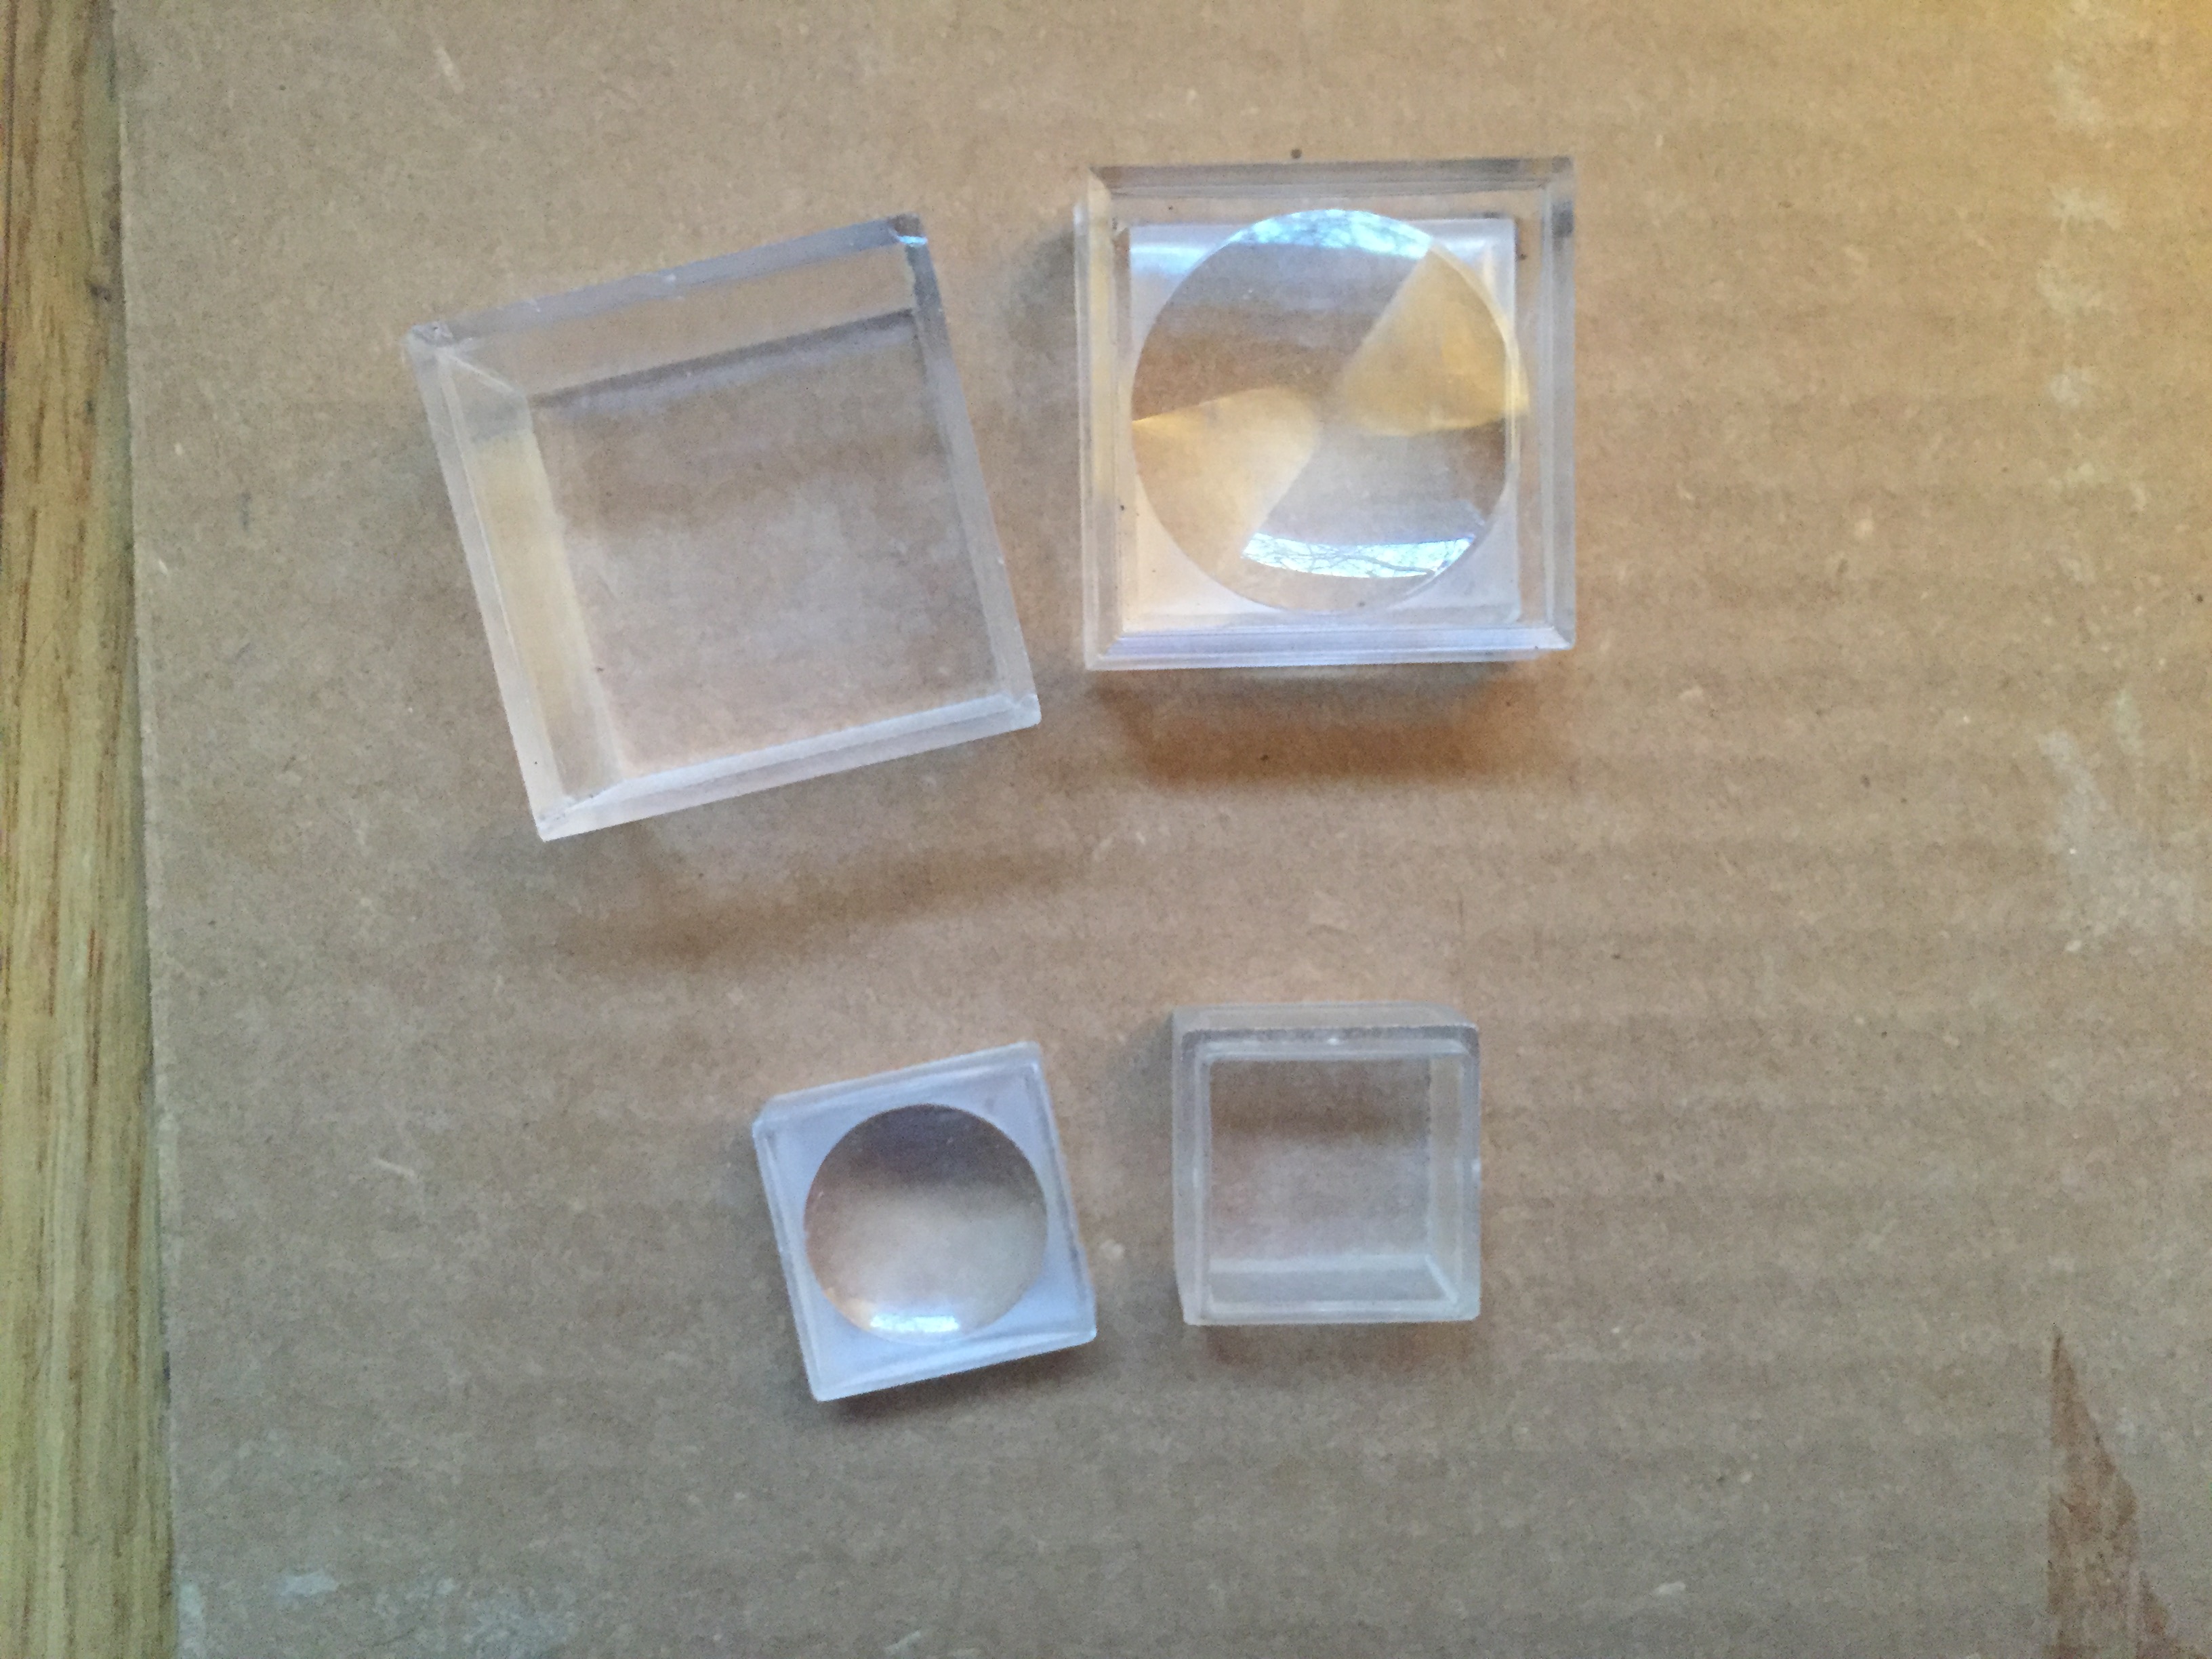
What you can do with students outdoors depends a lot on what you carry in your pack. We like students to engage directly with nature as often as possible during outdoor science, so we carry stuff that helps them do that. With this approach, the main equipment is nature itself, so you can travel fairly light, but you can get a lot of bang for your buck from carrying certain equipment. Hand lenses can lead to transformative experiences and open students to microworlds. With a small net you can catch the salamander you come across, and students can observe it up close if you have a clear plastic cup.

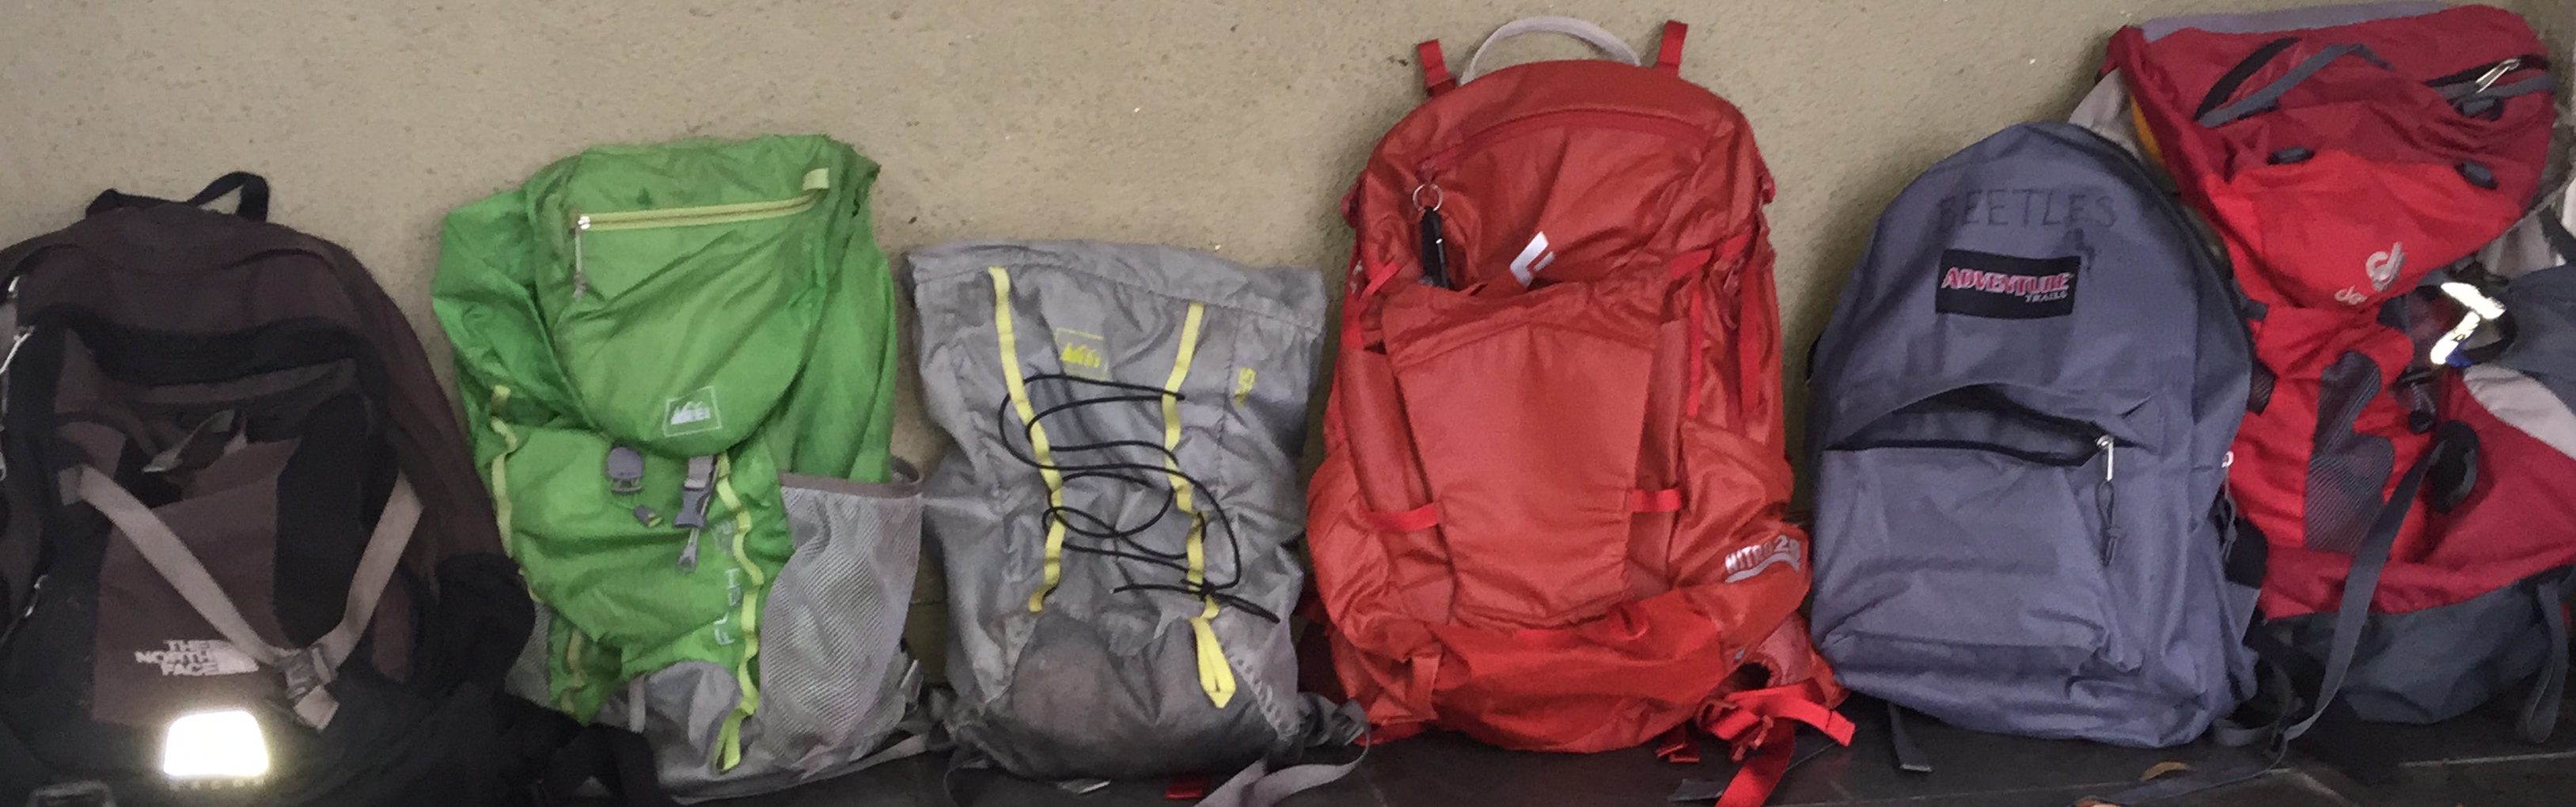
We’ve made three backpack tiers: what we carry all the time, no matter what (Barebones), what we carry when we’re feeling a little more deluxe (Swanky), and what we carry when we’re prepared for students to focus on creating and running more involved outdoor science investigations (Science Investigation-focus).

We’ve left out things that are program and logistics-specific (like first aid kits and lunch materials) and any tools/materials that are specific to a single activity. They’re not here, not because we don’t think they’re important, but because we figure each program has their own specific needs and equipment of this type. And, of course, no list is complete. Please add more ideas in the comments below to let us know what we’re missing!

Barebones

The following tools are useful almost anywhere. We recommend that field instructors carry them always, so they’re ready to catch and observe whatever they come across with a group of students.

hand lens 2We think these are the most important tool to carry because they help students directly engage with nature, look closely, and discover new worlds. Hand lenses give students an immediately different perspective and allow them to see details they otherwise can’t. Both glass and plastic lenses work great, but for the long term, we recommend programs buy glass lenses (though they’re more expensive) because plastic lenses become blurry over time from scratching, which eventually makes them unusable.

If students carry hand lenses around their necks with p-cord, they can use their lenses whenever they’re inspired during your program, and you don’t have to keep handing them out and collecting them. Hand lenses in pockets tend to get used less often, and hand lenses carried in a hand tend to get lost.

Hand lenses on cords tend to get tangled when stored, which can make them hard to pass out efficiently. We’ve found that thicker cord, like p-cord, tangles less than string (ugh!). We use a small carabiner to clip them together, then put the whole bunch in a cloth bag, to help keep them from rattling around and getting scratched. We’ve found the most efficient way to pass them out is to simply undo the carabiner, set the clump on the ground, and tell students to step forward and get one for themselves. If you try to untangle them one-by-one to hand them out, it creates a lot of dead time. At the end of a field experience, set up a system to make sure you get all your lenses back. See the BEETLES Activity and Video Hand Lens Introduction for more information on how to effectively and safely introduce hand lenses to students.

Purchasing Options

We recommend two purchasing options:

cups and lidsInexpensive clear plastic cups are durable, lightweight, fit inside each other compactly, and are easy to carry. Because they’re clear, you can observe an organism from above, below, and from the side. Make sure you buy cups that have some flexibility, and aren’t made of brittle plastic. The 9 oz. “squat” cups are more stable and less tippy than tall, skinny cups. They are also large enough to fit most insects and other macroinvertebrates (or even small amphibians) without being so big (like tubs are) that they become inconvenient to carry. It’s also nice to carry a few larger cups with lids, for larger organisms.

Carry at least enough cups for every pair of students, and ideally more. We’ve found that having lots of cups gives students more autonomy, ownership, and engagement with what they catch. They get to carry around and study “their own” organism(s). A set of cups are great tools for any group exploration of an area, but they’re also useful if the group has caught one interesting organism while hiking. Just whip out a cup, put the organism in it and pass it around for students to observe, without potentially harming the organism through handling.

Purchasing Options

Cups are easy to find at Target and almost any drugstore, but compatible lids can be harder to find, and usually need to be bought in bulk. We recommend that outdoor science programs purchase bulk boxes of cups and matching lids for staff to take from. Cups and lids are available at:

paper bowls1 It can be hard to get your hand lens close enough to look at an organism from above in a cup, so it’s good to also have containers with larger mouths to observe organisms, and to let them move around more. You can easily carry a bunch of paper bowls, because they fit inside each other, which also makes them less likely to get squished. Careful though, because many critters can crawl out of these if left unattended. These can be found at nearly any grocery and/or drug stores.

These can be found at nearly any grocery and/or drug stores.

nets 1Many programs have sets of nets and containers for field instructors to check out and use for specific activities, but we each always carry at least one or two small nets (and cups) for catching organisms we come across. The smallest aquarium nets (2-3”) are too small for outside. We prefer to carry mostly 4” nets, with a few larger ones that will allow you to catch larger critters, like frogs. These larger nets are also more useful for kick netting (see the Streams & Ponds section of the Ecosystem Literacy and Exploration Guides for a description of kick-netting). Carry a plastic bag to put the wet tops of the nets in after use. Coach your students on how to effectively catch critters without ripping the net (i.e. don’t scrape it on rocks, don’t pick up rocks with it).

Purchasing Options

Nets can be purchased at most pet stores and on Amazon.

whiteboard and marketWe use a whiteboard to write critical vocabulary words, draw example journal pages, and reinforce some prompts or group instructions. This is especially useful with English language learners.

Purchasable at an office supply store near you.

golf pencils 3For your kids to write and draw in their journals. A small baggie of golf pencils is compact, they break less than longer pencils, and are helpful for an environment like a creek or tidepools, because they float if dropped. They also don’t have metal ends, so if lost in the woods or tidepools, will decompose more easily.

Field journaling can be a hugely impactful experience for students. Spending some time sketching and observing an organism, or writing about their thoughts and feelings helps students engage more deeply with nature and leaves them with a record of their experiences in your program. We highly recommend programs distribute student journals, but if it’s not possible for your program, blank sheets of paper, pencils, and a rigid surface to write on (see cardboard clipboards below) are cheap, easy to carry, and allow students to journal in the field.
For more information on what to put in your student journals, see the BEETLES Model Field Journal. For more on how to journal, see the professional learning session Field Journaling with Students, the curriculum Opening the World Through Nature Journaling, the book The Laws Guide to Nature Drawing and Journaling, and BEETLES student activities (like Discovery Swap or Interview an Organism) in which students use journals.

OK, this one only indirectly aids in student explorations of nature in areas with poison oak or ivy. But if you’re you’re working your butt off to help students develop a relationship with nature, and then they get a horrible rash when they get home, those itchy feelings could undo a lot of the warm and fuzzy feelings towards nature that they developed in your program. An important aspect of poison oak/ivy oil removal is lots of scrubbing and cold water, which can be done with Tecnu and hands alone, but a washcloth for this specific purpose can help. Telling students to just wash off the oil with soap and water later doesn’t tend to work very well. (By the way, if you’re immune to poison oak/ivy you may not realize how awful it can be. Ask someone who isn’t immune.) Read more about our approach to poison oak/ivy in the Buggy Bushes, Shrubs & Grasslands section of the Ecosystem Literacy and Exploration Guides.

Many students unaccustomed to the outdoors aren’t exactly stoked to sit on the ground. For some students it doesn’t take too much convincing, but there are students who really struggle with the concept of putting their clean pants in contact with the ground, and it can be a big barrier for them. Garbage bags cut into small squares (and affectionately referred to as “lawn chairs”) can make a huge difference for these students. They’re particularly useful if the ground is wet. A full set of garbage bag “lawn chairs” is easy and compact to carry, squished into a small stuff sack or bag. If you want your students to be able to lie all the way down to observe, then carry a set of larger pieces. If you work in an area with snow, small foam pads are more comfortable, and can also help prevent frigiderriere. Foam pads are bulkier, so if you use them, we suggest you ask students to each carry one in their backpacks for the duration of your program.

Purchasing Info:

  • Garbage bags for lawn chairs can be purchased at any grocery store. The compactor bags are generally the most long-lasting.
  • We recommend cutting 12”x12” Sit Pads out of an affordable foam camping pad, such as the Coleman Rest Easy Camp Pad that sells for about $10 and yields 12 individual Sit Pads.

IMG_2748If you have signs you want students to be able to read, such as questions for discussion, sentence starters, or steps of procedure, it works well to write them on a manila folder. It’s nice and stiff, and folds in half to fit in your pack. Use permanent pens, so it won’t get smudged when it gets wet. Buy at any office supplies store.

We’ve found that if we teach an activity just from memory, especially a new activity, we often forget important steps and questions we planned and phrased thoughtfully beforehand tend to come out more clunky. A small field card that fits in your pocket will remind you of the steps of the activity and phrasing of questions and instructions. It’s helpful to carry more activity field cards than you plan on using, so you can constantly assess where your group is at and change what you teach to best suit their needs. Print out the field cards at the back of BEETLES student activities, or make your own.

OK, duh, of course, we know you all carry backpacks. But choosing a backpack is a big choice! (we know, we’re backpack geeks). In general, we like packs with lots of compartments, so we can keep our stuff organized (compartment for pencils and pens, compartment for nets, cups and bowls, one for large envelopes with specific equipment and notes for activities etc.), People prefer all different styles of backpacks. Comment and share your preferred trail backpack, and why you love it!

exploded pack 1

Swanky

The following tools are nice to have depending on the setting you’re in and what your focus is with students. Try a few things out at a time and see what works for you.

Great to carry in case your students find an object, like a gall, that could be investigated further if cut open.

If your students have field journals (which we highly recommend!), it helps to give them gallon-sized resealable plastic bags (or small reusable canvas bags) to help keep track of their journal (and a pencil or two) and to keep it all dry in case of rain.

It’s pretty cool to view some organisms under a blacklight when it’s dark. Try looking at scorpions, certain millipedes, flowers, (like Black-Eyed Susans), tree sap, and some lichens.

Kick Net courtesy of USGS

Kick Net courtesy of USGS

These wide, flat nets are ideal for collecting macroinvertebrates in a stream. For a more thorough description of kick-netting, see the Streams & Ponds section of the Ecosystem Literacy and Exploration Guides. Make your own by stapling about 2’-3’ feet of netting between two sturdy sticks or small boards about 3ft long or purchase from a science supply store like Acorn Naturalist.

clipboardCut up pieces of cardboard so they’re a little bigger than a page, then attach a small binder clip to the top, and you’ve got a cheap, lightweight, and durable clipboard. They give students a hard flat surface to support their paper while writing or drawing (usually not necessary if students have stapled journals, which offer support when writing/drawing).

These DIY boxes make collecting insects from shrubs super simple. See the Buggy Bushes, Shrubs & Grasslands section of the Ecosystem Literacy and Exploration Guides for a description of how to use shake boxes.

Crafting instructions: For each shake box, you’ll need 1 white foldable “shirt” box (about 8” x 12”) and 1 clear gallon size plastic bag. The kind of box used by department stores for gift wrapping works well because they fold flat for easy storage (and, because there’s a top and bottom, provide two shake boxes each). If you can’t find white boxes, you can use any color box and then cover both the inside and outside with white paper. For the plastic bags, try to find the ones without any printed words or logos on them. The bags should be roughly the same size as the short end of the box.

  1. Remove one end of the box.
  2. Tape one edge of the plastic bag along the back side of the box (at the side with the end removed).
Making a Shake Box (from GEMS Schoolyard Ecology guide)

If you want a hands-off technique for students to collect spiders and other small, quick organisms, the poofer’s for you! See the Buggy Bushes, Shrubs & Grasslands section of the Ecosystem Literacy and Exploration Guides for a description of how to use poofers.

Crafting instructions: Affix a  short piece of 1/2×3/8” vinyl tubing on a longer piece of 5/8X1/2” tubing with a small square of window screen in between the two tubes.

Using Instructions: Note: This technique works best with two people- one to use the poofer, and the other to hold the cup or bug box.

  1. Put the window-screened end of the poofer down near the insect or spider; put your mouth on the other end and suck in air to create a “vacuum” that will bring the creature up against the window screen.
  2. Maintain suction on the tube as you lift it from the ground to make sure the critter stays inside the tube. Close your hand against the window screened end of the tube to make sure the critter doesn’t fall out.
  3. Transfer the critter to a cup or bug box, then check it out!
A complete Poofer
A complete Poofer
Step 1
Step 1
Step 2
Step 2
Step 3
Step 3
Small Bug Boxes

Small Bug Boxes

Bug boxes work well for containing and magnifying small organisms, and work particularly well with little terrestrial grass and bush critters. Over a long time they become scratched and blurry. Carrying 1-2 bug viewers can be useful if you come across a particularly interesting insect or small organism, including aquatic organisms.

Purchasing Options

A variety of sized bug boxes are available from Acorn Naturalist:

Give a kid an organism name, and they’ll learn it for a day, teach a kid to use a field guide and they’ll learn forever. Hopefully. One of the disadvantages of a field instructor sharing a lot of knowledge with students is that students can’t replicate the experience when they return home. But if an instructor carries field guides and keys, and teaches students how to use them, students will learn how to access knowledge for themselves. Teaching students to use a field guide leaves them with a useful and translatable skill- one that supports the kind of learning called for by the NGSS and Common Core. BEETLES often introduce students to the skill of field guide identification by using simple field guides we’ve made (like our Lichen, Spider, and Decomposing Log Keys) which are included in BEETLES write-ups (Lichen Explorations, Spider Explorations & Case of the Disappearing Log). Consider using photos or drawings to make simple keys specific to organisms at your program, such as a key to the specific types of lichen found on your site.

For spider webs: Spider webs are not meant to be seen, but you’ve probably noticed how gorgeous and easy-to-spot they are in a heavy fog or dew. In seconds, you can artificially create that easy-to-see beauty anytime with a spray bottle. Ask a student to be the “spider person” who carries the sprayer and sprays spider webs at the request of other students or leaders. This can help the group notice and become intrigued with webs. It’s also a great task to give to a student who may particularly benefit from an active job and focus. You’ll need to be very clear with the student that they are not to spray students without permission, and if they do, the job will be passed on to another student. (If you have a spider web key/field guide (like from the Spider Exploration activity), you might also want to make carrying that key a job for another student, so you can identify webs you find).

For over-heated students: If you’re hiking in very hot weather, a spray bottle can also be a game changer. Even a quick spray on the back of the neck now and then can really help improve students’ comfort and mood.

Science Investigation-Focus

Some programs guide their students in designing and conducting their own science investigations, and these are tools for students to use when doing that. The following is a kit of tools our friends at Santa Cruz Outdoor Science School have been using with students when they do the BEETLES activity, Exploratory Investigation. We haven’t tried them out ourselves, but they have, and they recommend them.

  1. Toolbox
  2. Measuring Tape
  3. Soil Thermometer
  4. Pool Thermometer for Creek
  5. Air Thermometer and Hygrometer
  6. Black Ligh
  7. Loupe in case
  8. Loupe
  9. Paintbrushes
  10. Large Caliper
  11. Angle Thermometer
  12. Postal Hand Scale
  13. Ruler
  14. Small Caliper
  15. Compass
  16. PH Strips
  17. Stopwatch
Screen Shot 2017-04-19 at 4.58.15 PM

3 Responses to “What’s in our Backpack?”

Leave a Response